How to Hang a Punching Bag in an HDB Flat
You generally cannot suspend a heavy bag from an HDB ceiling: HDB guidance limits objects hung directly from a ceiling to around 6kg, and a real heavy bag starts at several times that. The workable options are a wall bracket bolted into a structural concrete wall, or a free-standing bag that needs no fixing at all.
The 6kg rule that changes everything
Most punching bag installation advice online is written for houses with timber joists. It does not apply here, and following it will waste your afternoon.
HDB guidance limits any object suspended directly from a ceiling to approximately 6 kilograms. Our 25kg bag is more than four times that limit — and so is essentially every heavy bag worth owning. There is no hook, anchor or technique that changes this — it is a constraint on what the ceiling slab is rated to carry, not on the hardware you attach to it.
Worse, static weight understates the problem. A swinging bag loads its mount dynamically, and the peak force during a hard combination is several times the bag's resting weight. A general rule in the trade is that a mount should be rated to at least four times the bag weight for exactly this reason.
A bag that tears out of a ceiling brings concrete down with it, from height, onto whoever was training underneath. This is the one part of the process where there is no acceptable shortcut.
Your three real options
1. Wall bracket on a structural wall — the usual answer
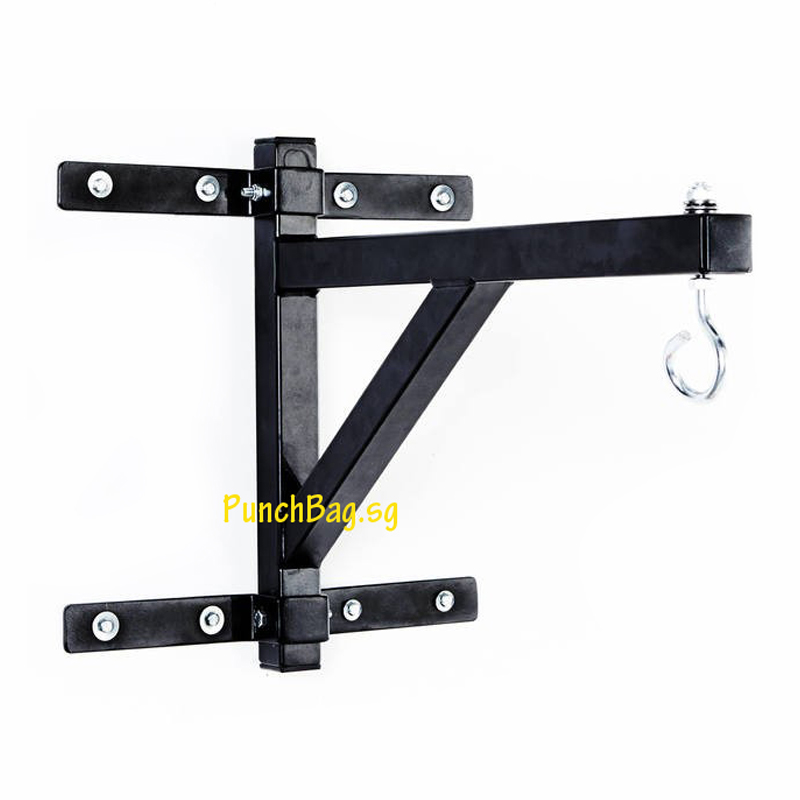
A steel bracket bolted through 8 wall plugs into reinforced concrete. This is what most Singapore home gyms use, and it is what the WM-40 bracket is built for: 100kg rated, 43cm projection, $70. The bracket is supplied on its own — you buy the 8 wall plugs to suit your wall, and the bag brings its own chain and carabiner. It needs the right wall and real tools, but once it is in, it is in.
2. Free-standing bag — the no-drill answer
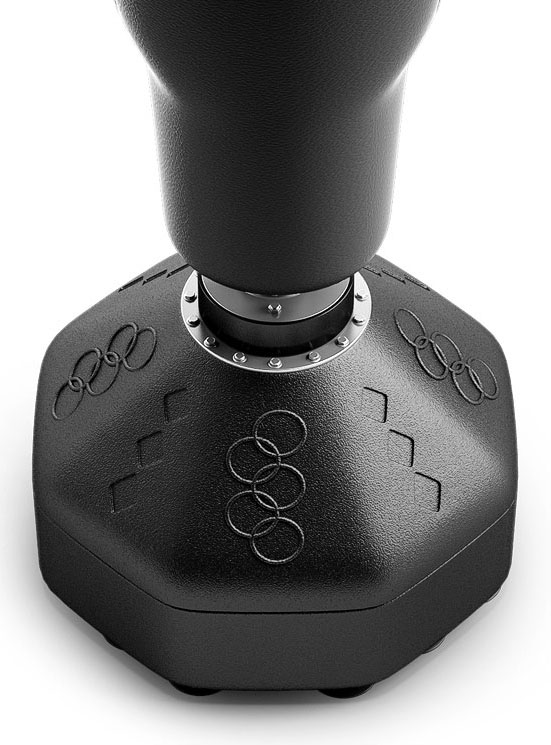
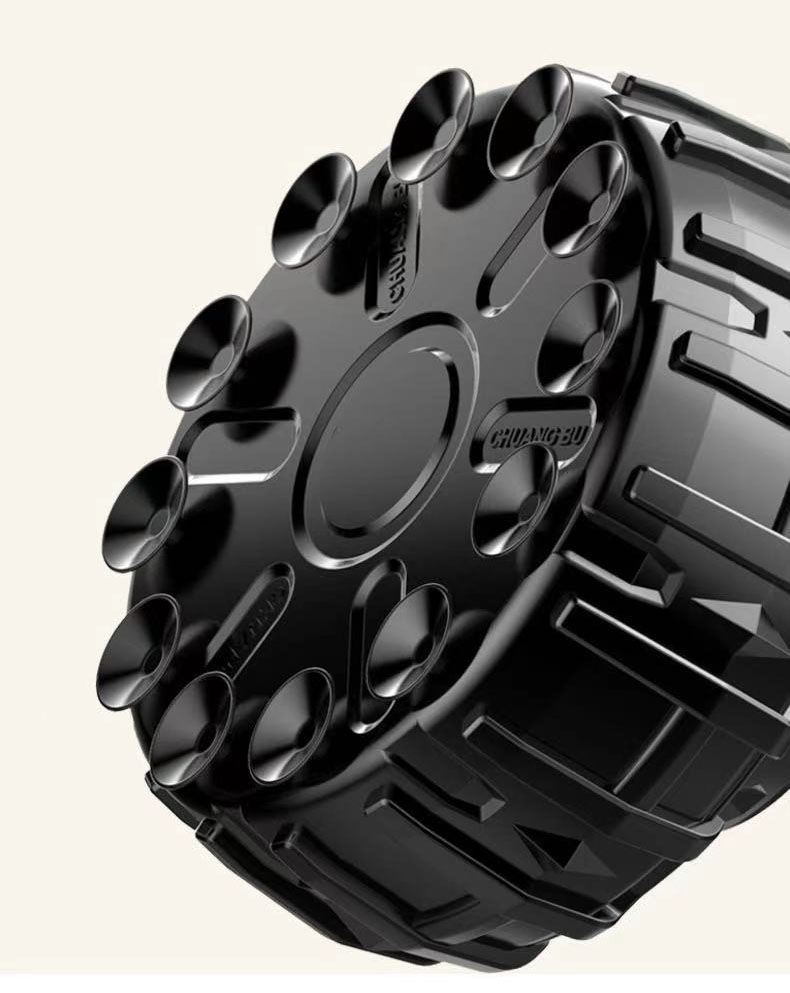
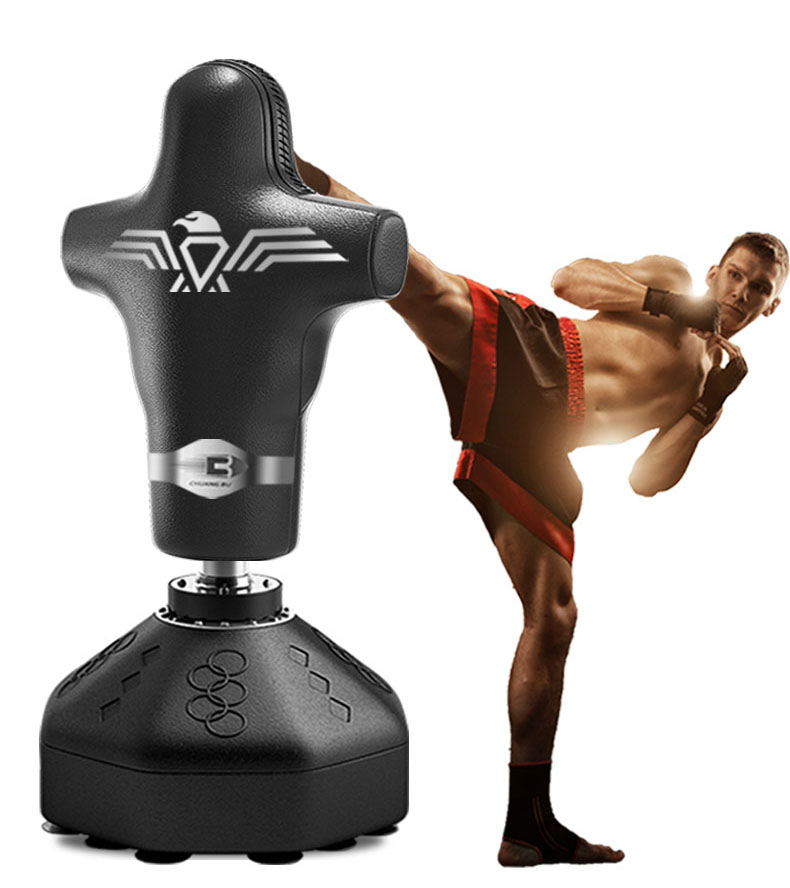
A Body Opponent Bag sidesteps the entire problem. Fill the base with water or sand, stand it on the floor, train. Nothing is fixed to anything. If you rent, if you are unsure about your walls, or if you simply do not want to own a rotary hammer drill, this is the sensible route.
3. Free-standing frame — the expensive answer
A steel frame that rests on the floor and carries a hanging bag. It gives you genuine hanging-bag feel without drilling, but it costs more than a bag and a bracket combined, and it occupies a substantial footprint. Worth considering only if you specifically need hanging-bag swing and genuinely cannot drill.
Which walls can take a bag
| Wall type | Suitable? | How to identify it |
|---|---|---|
| Reinforced concrete | Yes | Dead thud when tapped; usually external or structural core walls |
| Solid brick / block | Yes | Solid sound, drill dust is red or grey and gritty |
| Hollow block partition | No | Hollow ring, drill breaks through into a void |
| Drywall / plasterboard | Never | Very hollow, screws bite with almost no resistance |
| Glass block / tiled feature wall | No | Cannot be assessed reliably — avoid |
The tapping test gets you most of the way. If a wall sounds hollow anywhere along the area you plan to use, do not mount there. If you get a mixed result, or the wall is finished in a way that masks what is behind it, pay a contractor for an hour to assess it. That is cheap insurance against a repair bill.
Step-by-step wall bracket installation
Roughly 90 minutes if the wall cooperates. You will need a rotary hammer drill (not a standard cordless drill), carbide masonry bits, a socket set, a spirit level, tape measure and the correct anchors.
- Confirm the ceiling is not an option. HDB guidance limits ceiling-suspended objects to about 6kg. A 25kg bag exceeds this several times over, so plan for a wall mount or a free-standing bag from the outset.
- Identify a structural wall. Find a reinforced concrete or solid masonry wall. Tap it — a dead thud indicates solid, a hollow ring means a partition you must not use.
- Check what is inside the wall. Scan for electrical conduit and water pipes with a detector before drilling. HDB walls carry both, often at switch and socket heights.
- Mark and drill all 8 holes. Hold the bracket level, mark all 8 fixing holes, then drill with a rotary hammer and a carbide bit sized to your wall plugs.
- Fit 8 heavy-duty wall plugs. Use expansion or sleeve anchors rated well above the bag weight. Standard plastic wall plugs are not adequate for repeated shock loading.
- Bolt the bracket and torque evenly. Tighten the bolts in a cross pattern so the bracket seats flat against the wall, then re-check each one.
- Hang the bag on its swivel carabiner. The bag supplies its own chain and swivel carabiner. Attach the chain to the bracket through the swivel so the bag rotates instead of winding the chain up.
- Load test before your first session. Hang from the bag with your full bodyweight and check for any movement, cracking or dust at the anchors. Re-check all fixings after the first week.
Getting the height right
Mount so the middle of the bag sits at about your own chest height. For a 110cm bag on a 43cm bracket, that usually puts the bracket somewhere around 210–220cm from the floor. Measure with the bag beside you before you drill — this is the number people most often get wrong, and it is not adjustable afterwards.
Choosing anchors
The bracket is only ever as strong as what holds it to the wall. Use heavy-duty expansion or sleeve anchors sized for both the bracket holes and your wall material, and rated well above your bag weight — remember the four-times rule.
Wall plugs are deliberately not supplied with the WM-40, and that is the right call: the correct anchor depends entirely on your wall, and a generic set included in the box would encourage people to use the wrong one. Buy 8 plugs and bolts to suit the wall you actually have.
Use all 8 holes. Skipping a few to save ten minutes sharply increases the load carried by each remaining plug, and anchors fail progressively — one lets go, the rest take more, and the whole thing unzips.
Five mistakes that cause failures
- Mounting to a partition wall. The most common and most expensive error. It will hold a static bag and fail under a swinging one, usually weeks later.
- Using plastic wall plugs. They are designed for static loads like shelves. Repeated shock loading works them loose.
- Skipping fixing holes. Eight holes exist because eight are needed. Using four to save time roughly doubles the pull-out force on each remaining plug.
- Omitting the swivel. Without one the chain winds up as you circle the bag, twisting the top straps and shortening their life considerably.
- Never re-checking. Anchors bed in during the first weeks of use. Re-torque everything after week one, then every three months — see the maintenance guide.
Plenty of customers buy the bracket and pay a handyman an hour to fit it. Others take one look at their walls and buy a standing bag instead. Both are sensible outcomes — a badly mounted bag is far worse than no bag.
Call +65 6372 1581, email hello@punchbag.sg, or come to the showroom and ask in person. We would rather talk you out of the wrong bag than sell you one.